Your Guide to California Home Insurance Claims
When disaster strikes your home in California, the last thing you want is more confusion. Filing an insurance claim can feel like a maze, especially with our state’s unique challenges, from wildfires to mudslides. But it doesn’t have to be a nightmare. Knowing the process ahead of time can make all the difference.
What You’ll Learn:
* The immediate steps to take after damage occurs.
* How to properly document your losses.
* The role of your insurance adjuster.
* Understanding your policy and settlement options.
* Tips for a smoother claims experience in California.
Step 1: Secure Your Property and Prioritize Safety
First things first: your safety. Always make sure everyone is safe and out of harm’s way before you even think about your property. If there’s a fire, get out. If there’s a major earthquake, find cover. Once the immediate danger has passed, you’ll need to prevent further damage.
Did a tree fall through your roof in Santa Rosa? Get a tarp over it. Was there a burst pipe in your Ventura County home? Shut off the water main. These are temporary repairs, often called “mitigation.” Your policy usually expects you to take these steps. Don’t start rebuilding or making permanent repairs just yet, though. That’s a common mistake. Just stop the bleeding, so to speak. Keep all receipts for these emergency repairs. You’ll need them later.

Step 2: Contact Your Insurance Company – And Do It Fast
As soon as you’ve handled safety and immediate mitigation, call your insurance provider. Seriously, don’t wait. Insurers like State Farm, AAA, or Farmers all have claims departments ready to go. The sooner you report the damage, the sooner they can start the process. Many policies have specific timeframes for reporting a loss, often within a year, but waiting months can complicate things. Especially after a major event, like the 2025 LA fires — insurers get swamped. Getting in line early helps.
When you call, you’ll provide your policy number, details about the damage, and the date it happened. They’ll give you a claim number. Write it down. Keep it somewhere safe. This number will be your key reference for everything moving forward.
Step 3: Document Everything – Photos, Videos, and Lists
This step is absolutely critical. Think of yourself as a detective. Before any cleanup or repairs begin, document, document, document.
* **Photos and Videos:** Use your phone to take clear pictures and videos of all damaged areas. Get wide shots showing the overall scene, then close-ups of specific damage. Don’t forget the exterior of your home, too. If your roof took a hit during a storm, snap photos of missing shingles or structural damage.
* **Detailed Inventory:** Make a list of all damaged or destroyed personal belongings. Include as much detail as you can: brand, model, serial number, approximate age, and original cost. If you have receipts, even better. For bigger items, like appliances, this is a must. For clothes or smaller items, a detailed list with estimated values works. This isn’t just for fire claims; a break-in in the Inland Empire means you’ll need a list of stolen electronics and jewelry.
Honestly, this part can feel overwhelming, especially if your home is a mess. But this evidence is what your insurer will use to calculate your payout. Without it, you might not get everything you’re entitled to.
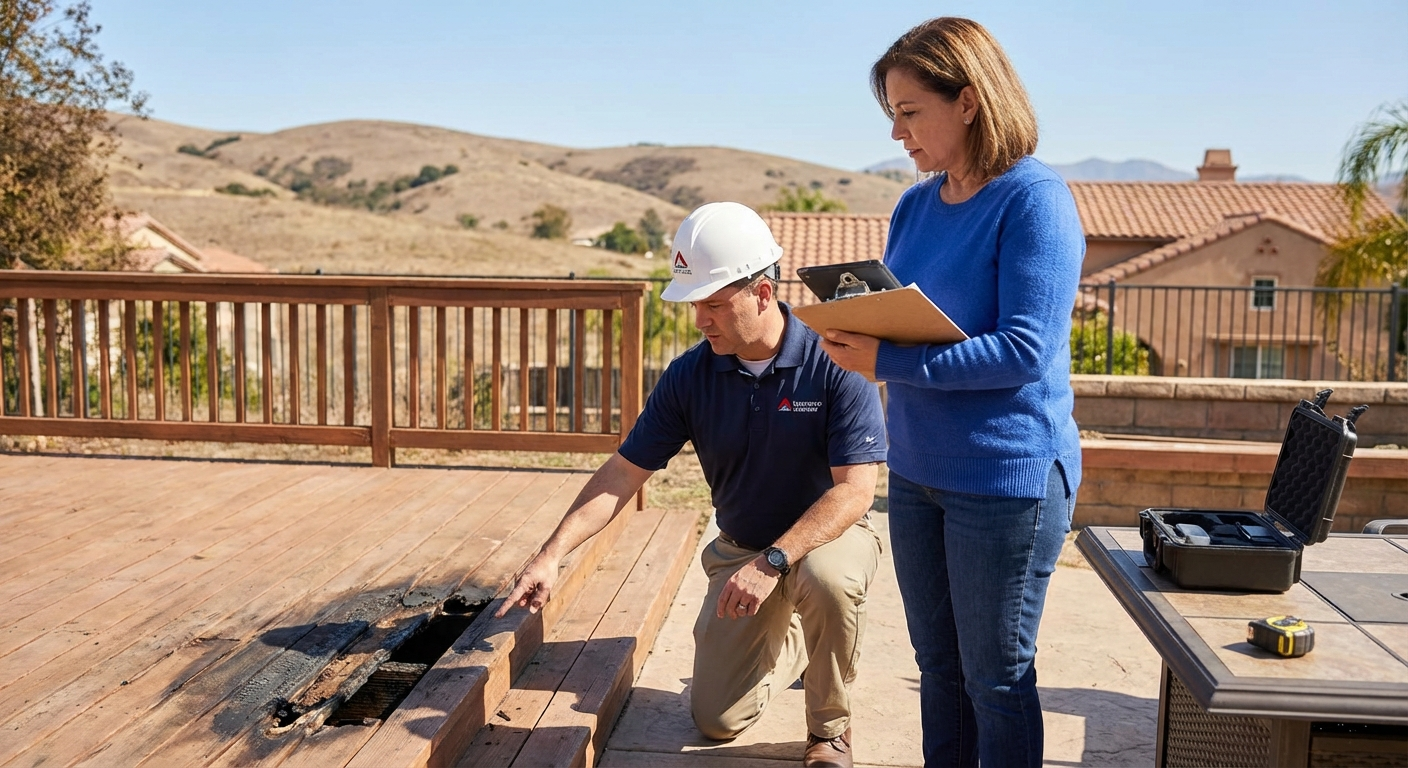
Step 4: Meet Your Adjuster
After you file your claim, your insurance company will assign an adjuster. This person’s job is to inspect the damage, figure out what happened, and estimate the cost of repairs or replacement. They’re the one who determines how much the insurer will pay.
When the adjuster comes to your home, walk them through everything. Point out every detail you’ve documented. Show them your photos and videos. Be prepared to answer questions about the incident. Don’t guess if you don’t know an answer. It’s okay to say, “I’m not sure, but I can find that out.”
Sometimes, especially after widespread disasters, an adjuster might be from out of state. They might not know the nuances of California building codes or local repair costs. That’s not always a problem, but it’s something to be aware of.
Step 5: Review the Adjuster’s Report and Your Policy
Once the adjuster finishes their work, they’ll send you a report outlining their findings and the estimated cost of repairs. This report is important. It details what they believe is covered and what isn’t, and how much they think it will cost.
But wait — before you agree to anything, pull out your actual insurance policy. This thick document, full of legal jargon, is the contract between you and your insurer. Read it. Seriously. Pay close attention to your deductibles, coverage limits (like for personal property or additional living expenses), and any exclusions. For example, many standard policies don’t cover earthquake damage unless you bought a separate endorsement. Flood insurance is also usually a separate thing entirely.
If the adjuster’s estimate seems too low, or if they’ve missed something, speak up. This isn’t a take-it-or-leave-it situation. You have the right to challenge their findings. Maybe they didn’t account for specific local building material costs in the Valley, or perhaps they missed damage to a hidden part of your property. This is where your detailed documentation from Step 3 really pays off.
Step 6: Understand Your Settlement Options
Most home insurance policies offer two main ways to pay out for damaged personal property: Actual Cash Value (ACV) and Replacement Cost Value (RCV).
* **Actual Cash Value (ACV):** This pays you the cost of replacing the item *minus* depreciation. So, if your 10-year-old couch was destroyed, you’d get what a 10-year-old couch is worth today, not what a brand-new one costs.
* **Replacement Cost Value (RCV):** This pays you the cost to replace the item with a brand-new one, without deducting for depreciation. This is usually the better option, but it often involves a two-step payment. You’ll get an initial payment based on ACV, and then the remaining amount (the depreciation) once you actually replace the item and provide proof.
For the structure of your home, payments often come in installments as repairs are completed. Your first check might be for immediate repairs, with more money released as your contractor finishes work. It’s not uncommon for insurers to pay the policyholder and the mortgage lender jointly on checks for structural damage. This means you’ll need your lender’s endorsement to cash or deposit the check.
If you’re having trouble understanding your policy or feel like you’re getting a raw deal, you don’t have to go it alone. Public adjusters work for you, not the insurance company, and can help negotiate. Or, if you need advice on finding the right policy to protect your California home, Karl Susman at California Home Insurance Rates, CA License #OB75129, is always ready to talk. You can reach him at (877) 411-5200.
Step 7: Get Repairs Done and Close Your Claim
Once you’ve agreed on a settlement amount, it’s time to get your home back in shape. Find reputable contractors. Get multiple bids. Don’t feel pressured to use a contractor recommended by your insurance company, though sometimes they have good lists. Make sure your contractor is licensed and insured. In California, checking contractor licenses with the CSLB (Contractors State License Board) is a smart move.
As repairs progress, keep good records. Save all invoices and receipts. If you have an RCV policy, you’ll need these to get your final depreciation payment. Once the work is done and you’re satisfied, your claim will be officially closed.
A Note on California’s Unique Challenges
California’s insurance market has been a bit wild lately. Insurers like State Farm and Allstate have pulled back from writing new policies in some areas. This makes understanding your claims process even more important. The California FAIR Plan, our state’s “insurer of last resort,” has also seen changes, expanding its coverage options, but it’s still a different beast than a standard policy. Knowing your rights under Prop 103 — which mandates that insurers get approval for rate hikes — can also be helpful if you feel your premiums are unfair.
Ultimately, your home is likely your biggest asset. Protecting it means understanding your insurance, from buying the right policy to filing a claim when you need it most.
If you’re looking for a better understanding of your home insurance options or need help finding a policy that fits California’s unique risks, don’t hesitate to reach out to Karl Susman at California Home Insurance Rates, CA License #OB75129. He’s helped countless California homeowners.
Ready to explore your options or get a new quote? Click here: Get a California Home Insurance Quote
Frequently Asked Questions About California Home Insurance Claims
Q1: What if my claim is denied?
If your claim is denied, the insurance company must provide a reason in writing. Review this denial carefully against your policy. You have the right to appeal the decision. Gather any additional documentation that supports your claim and present it to your insurer. If that doesn’t work, you can contact the California Department of Insurance (CDI) for assistance. They can help mediate disputes.
Q2: How long does a typical home insurance claim take in California?
Honestly, it varies a lot. A simple, small claim – like a broken window – might be resolved in a few weeks. A major claim, especially after a widespread event like a wildfire in Paradise or a flood in the Sacramento Valley, can take months, sometimes even over a year, to fully settle. Much depends on the complexity of the damage, how quickly you provide documentation, and the insurer’s workload.
Q3: Will filing a claim raise my premiums?
The short answer is yes, sometimes. The real answer is more complicated. Filing a single claim, especially for something outside your control like a storm, might not significantly impact your rates. But multiple claims in a short period, or claims for preventable issues, can definitely lead to higher premiums or even non-renewal. Insurers look at your claims history when assessing risk.
Q4: What if I have to live somewhere else while my home is being repaired?
Good news: most standard California home insurance policies include “Additional Living Expenses” (ALE) coverage. This helps pay for temporary housing, food, and other necessary expenses if you can’t live in your home due to a covered loss. Keep all your receipts for these expenses, too. There are usually limits to ALE coverage, both in dollar amount and time, so know your policy’s specifics.
Ready to explore your options or get a new quote? Click here: Get a California Home Insurance Quote
This article is for informational purposes only and does not constitute financial advice.